
How to Install Smart Blinds: Complete DIY Setup Guide
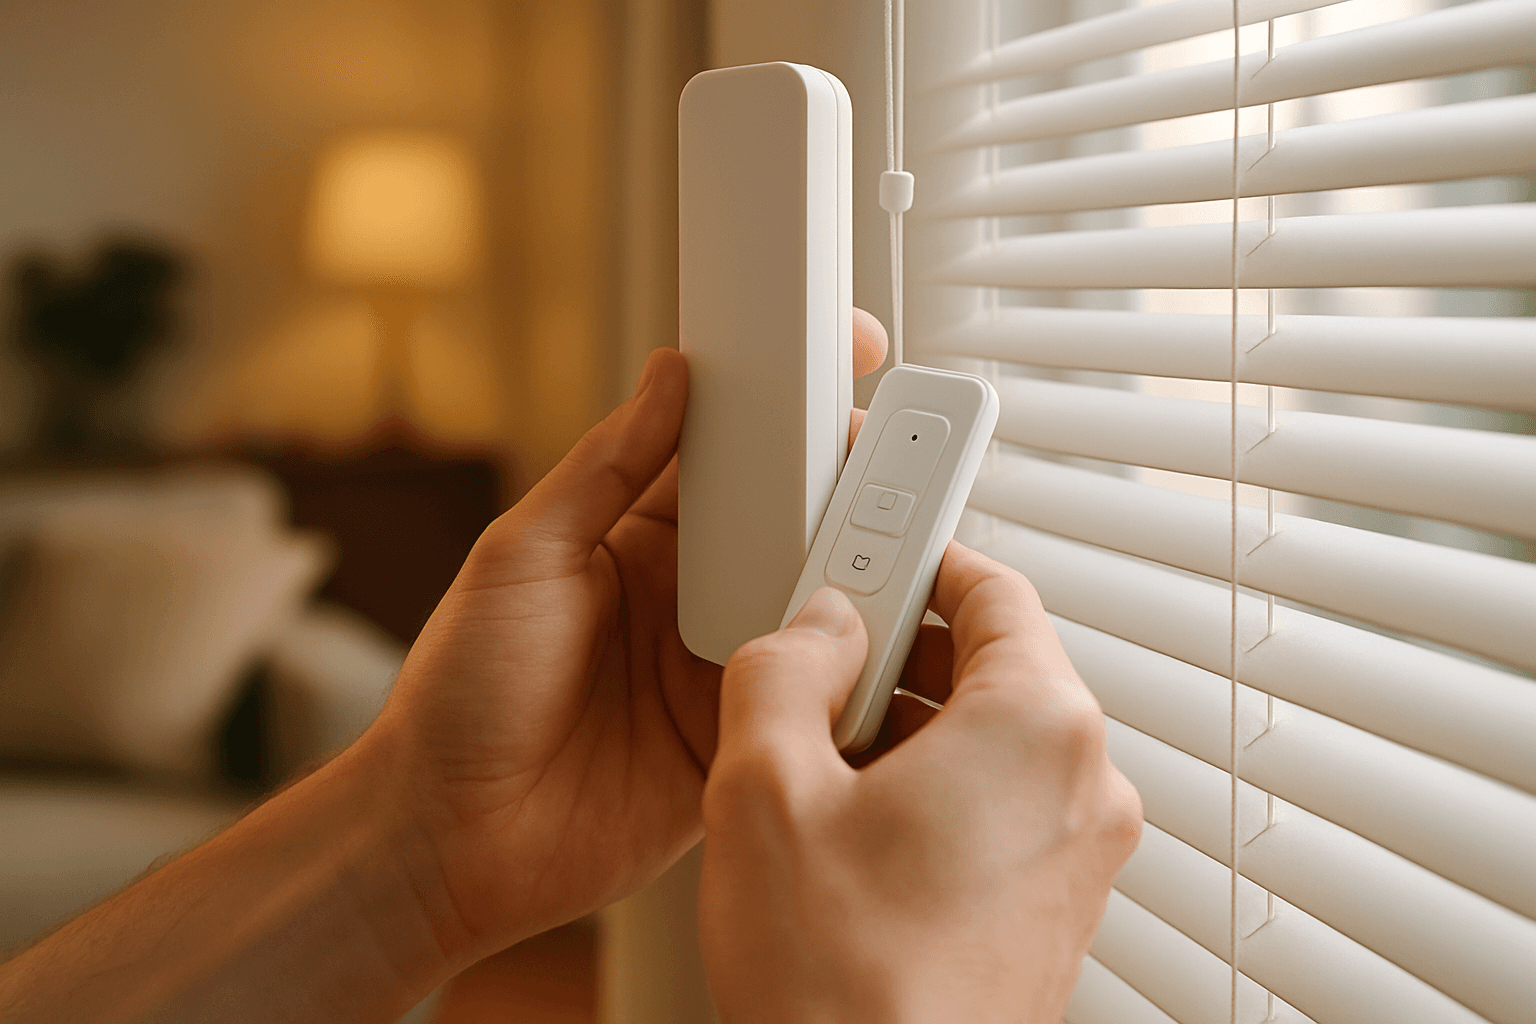
Before You Begin: Preparation and Tools
Most installations require a drill, level, measuring tape, pencil, screwdriver, and the correct anchors if you're not fastening directly into solid wood. Take a few minutes to gather these basic tools before starting. Having everything on hand prevents frustration and keeps the work moving smoothly.
Familiarizing yourself with the steps can prevent mistakes. You need a power drill, level, measuring tape, screwdriver, and mounting brackets to install motorized blinds. Beyond the physical tools, skim the manual to understand any brand-specific instructions, as each manufacturer may have unique steps.
Before installation, if the blind is battery powered, charge it before installation if the manufacturer recommends it. That avoids trying to troubleshoot a low battery after the blind is already mounted. If the motor uses batteries, charge it completely before you start. Remember, it takes about 5 hours for a full charge.
Understanding Your Power Options
Smart blinds and motorized shades come in three main power configurations. Some smart blinds use rechargeable battery packs, while others are hardwired. Battery-powered systems are easier to retrofit because they do not require electrical work, but they still need practical access for charging and enough clearance for the motorized headrail.
Most motorized and wand motorized shades are powered by rechargeable lithium-ion batteries that charge via a micro-USB cable. All you have to do here is plug it into the USB-C charger and fully charge the battery prior to its first usage.
For hardwired installations, use 18-22 gauge low-voltage wire, typically 2 to 3 conductors depending on the motor type. Check manufacturer specs for voltage requirements (usually 12V or 24V). Hardwired systems are most practical during new construction or major renovations and typically require professional electrical installation.
Measuring Your Windows
Accurate measurements are the foundation of a successful installation. One of the most frequent errors when installing blinds is failing to measure the window accurately. This is an important stage in the process to ensure the blinds fit perfectly. Neglecting this step can result in blinds that are too short or too narrow, leaving gaps and compromising privacy and light control.
For inside mounts, you'll need at least 2.5 inches of window frame depth. If your frame is shallower than that, the valance will stick out past the frame, so you'll want to go with an outside mount instead.
Before drilling any holes, confirm the actual width and height of the blind against the order details. Custom products are made to fit a specific opening, so even a small measuring mistake affects how the final install looks.
Checking for Obstructions
Another common mistake is ignoring clearance. Window handles, deep trim, protruding sills, and condo frame details can all interfere with movement. The result is a blind that bumps, catches, or cannot lower fully. Before you commit to bracket positions, verify that the blind won't collide with window hardware or surrounding trim.
Installing the Brackets
Mark where your brackets need to go following your manufacturer's instructions. Check your specific system's requirements for exact placement. This keeps everything balanced and prevents the shade from tilting.
Use your level to make sure brackets are perfectly straight. Uneven brackets cause binding and rough operation. Precision here pays dividends later—crooked brackets lead to misaligned blinds that won't operate smoothly.
Drill pilot holes first. This keeps drywall from cracking and helps fasteners grip better. A 5/64″ pilot hole takes five seconds and prevents all of that. This small step saves time and prevents damage to your walls.
Use screws and anchors (if needed) to secure the brackets to the wall or window frame. Overtightening screws is a mistake: snug contact holds the bracket. Cranking past that point cracks trim and crushes mounting surfaces.
Installing the Blinds into Brackets
Proper bracket placement is critical for the smooth operation of your motorized window shades. Locate the top cassette of your shade. Align the cassette ridges with the brackets.
Hook the front lip into the bracket and push upward until it clicks. Repeat on the other side and make sure the antennas are visible for wireless control. The click indicates a secure connection—it's an essential confirmation that your DIY installation is on track.
Connecting the Motor
Attach the motor to the blinds according to the manufacturer's instructions. This may involve plugging in a power cable or securing a battery pack. Consult your specific product manual for exact connection steps, as motor designs vary by brand.
Motorized systems often have model-specific brackets, clips, charging cables, or pairing instructions that should be reviewed first rather than sorted out halfway through the job.
Programming the Motor Limits
Once mounted, set the upper and lower limits so the shade knows where to stop. Follow the instructions included with the specific shade model, as the process varies slightly between products.
Most involve holding a programming button on the remote and adjusting the shade to the fully open position, setting that limit, and then repeating for the fully closed position. Test the operation several times. The shade should move smoothly and stop precisely at the programmed limits.
Smart Home Setup and WiFi Connection
Once the physical installation is complete, smart home integration brings your blinds to life. Smart blinds connect the hub to your WiFi network. Pair the hub with your blinds using the manufacturer's app. Then link the hub to Alexa or Google Assistant in their respective apps. Once connected, you can use voice commands to operate blinds throughout your home.
If you have a dual band router with both 2.4GHz and 5GHz, turn off 5GHz during the setup process and turn it back on afterwards, as it conflicts with the devices. Also make sure you're only connecting 1 device at a time—smart devices can become unreliable when connecting to many at once.
Setting up the hub and Alexa integration adds about 15 to 30 minutes to installation time. Most hubs include step-by-step setup wizards that guide you through WiFi connection and device pairing.
If your blinds come with a remote control, sync it to the motor by following the setup instructions. For smart home integration, connect the blinds to your smart home hub (like Alexa or Google Home) through the corresponding app.
Testing Your Installation
Once everything is mounted and connected, run through all the basic functions. Test the up button and down button, plus any preset positions you programmed. Make sure the motor stops exactly where it should, without going too far.
Try the voice commands from different spots around the room. Sometimes WiFi signals don't reach every corner of your house equally well. Move your router closer if needed.
Installation Timeline
Installing motorized blinds typically takes about 30-60 minutes, depending on the number of windows and your experience level. Most smart blinds are designed for DIY installation and typically take about one hour per window. You'll need basic tools like a drill and screwdriver. The process involves mounting brackets, installing the motorized headrail, activating the motor, and setting up the hub.
Common Mistakes to Avoid
Some people treat app setup like an optional extra to finish later. That often leads to missed limit settings, poor remote response, or features never being used at all. Smart blinds are at their best when the installation and automation are planned together.
Mechanical installation is only half the job. Smart blinds also need to be paired and programmed correctly. Depending on the product, that may include connecting a remote, setting upper and lower limits, syncing to a hub, or linking with a phone app and voice assistant. This part sounds simple, but it can become frustrating if the physical install is not clean. For example, if the blind is not level, the motor may still respond to commands, but the shade may stop unevenly or leave inconsistent light gaps.
Troubleshooting Issues
Most motorized blind issues come down to power, connectivity, or programming. Start by checking the power source (batteries or wiring), ensure the remote or hub has a good signal, and if needed, perform a simple motor reset. These steps solve a majority of common blind problems.
When blinds fail to respond to commands, ensure they are properly charged or plugged in. Also, check for any obstructions in the blinds' path and ensure the motor isn't overheated.
When to Call a Professional
A smart blinds and shades company can handle everything from measuring to final testing. This option costs more money but saves you time and stress. Professional installers bring all their own tools and usually finish the job in half the time.