
How to Set Up Home Theater Surround Sound: Beginner's Guide
Understanding Your Surround Sound System Components
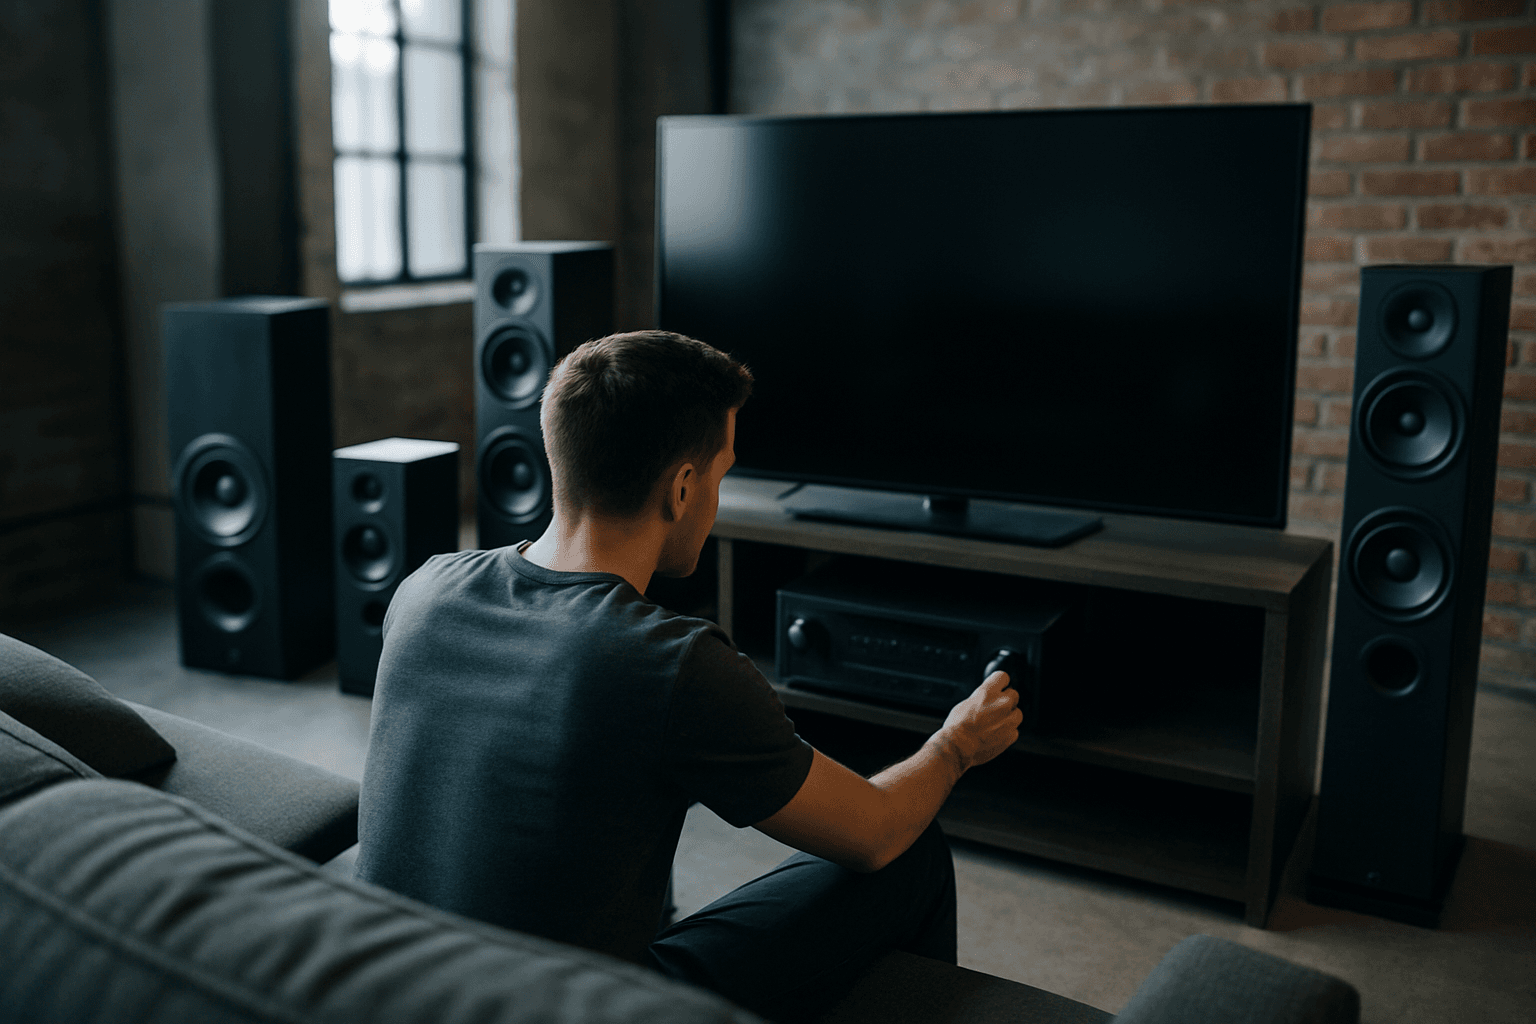
A basic home theater system needs a video display, a surround sound AV receiver, and a video source like a DVD or Blu-ray player. Beyond these essentials, you'll need speakers and cables.
Home theaters typically include a minimum of 5 speakers (left front, center, right front, left back, right back), though modern systems allow for expansions of upwards of 13 speakers, including those mounted in the ceiling to meet Dolby Atmos standards.
A 5.1 surround sound system has five main channels and one subwoofer channel, while a 7.1 system adds two additional channels for an even more immersive audio experience. If there is a third number, like in 5.1.2 surround sound, the last digit refers to two wall speakers or ceiling speakers.
The AV receiver is the system's brain. An AV (audio/video) receiver decodes audio signals from various formats and distributes them to the connected speakers. Most home theater receivers include built-in amplifiers for each channel, which powers the speakers and controls volume levels.
Subwoofers handle the low frequencies that regular speakers typically can't manage. Even a single subwoofer will offer well-rounded bass in a surround sound system.
Positioning Your Speakers
Proper speaker placement is the foundation of good surround sound. Good speaker placement is key to experiencing surround sound as it's meant to be heard.
Front Left and Right Speakers
Position your front speakers at ear level and at equal distances from the main viewing area. The left and right speakers should be angled towards the listener, forming an equilateral triangle with the seating position.
Center Channel Speaker
The center channel is arguably the most important speaker in a surround sound system since nearly 70% of all audio playback comes through the center channel at any given moment. Place your center-channel speaker directly above or below the TV for clear dialogue.
Center speakers fit great on top of an entertainment cabinet or easily on a shelf mounted above or below the TV screen. Just make sure the speaker is angled up or down towards the listener for best performance.
Surround Speakers (5.1 Setup)
For 5.1, use a 110°–120° side position or as close as possible. This means positioning speakers to the side of your seating area, rather than directly behind it. Mount the surround speakers slightly higher than your front speakers – about 1 to 2 feet above ear level when seated.
Surround Speakers (7.1 Setup)
In a 7.1 surround sound home theatre set-up, the surround speakers are placed to the side of the listener's position and the rear speakers are placed behind the listener. More specifically, the side surrounds should be at 90°–110°, slightly more to the sides than the rear position of a 5.1 layout. For 7.1, place the rear speakers at 135°–150°.
Subwoofer Placement
Bass is omnidirectional, but placement still matters. Start by placing the sub along a wall, which often reinforces low-frequencies. However, avoid corners, which can cause boomy, muddy bass.
A practical approach: Try the subwoofer crawl test — put the sub in your listening position and play a bass-heavy track, then crawl around the perimeter of the room and listen for the spot where the bass sounds the smoothest. That's where your sub should go.
Subwoofer placement in the front of the room is the most common and usually results in the best blending with the main speakers and center channel and minimizes localization effects.
Connecting Your Equipment
The fundamental rule when connecting the components together is that all the cables are connected, OUT to IN.
Most of your gear will connect to your receiver via HDMI cables. To allow for system expansion, get a receiver that has more HDMI inputs than you need right now. HDMI (High Definition Multimedia Interface) is often the go-to. The transmission standard offers the necessary bandwidth for high-resolution images and transmits video and audio data.
Loudspeakers are connected via copper cables (2 threads) to the receiver. These speaker wires connect directly from your receiver's speaker outputs to each speaker's terminals.
Both optical and coaxial connections are capable of transmitting multi-channel audio formats, such as Dolby Digital and DTS, making them ideal for connecting devices like Blu-ray players, game consoles, and streaming devices to your AV receiver. These serve as backup options when HDMI isn't available.
Calibrating Your System
Once your speakers are positioned and connected, calibration adjusts the system to your specific room and seating layout.
Automatic home theater calibration is a process where your AV receiver uses a microphone to measure the acoustics of your room and automatically adjust settings like speaker levels, distances, and EQ. Many modern AV receivers come with built-in auto-calibration systems. These systems analyze the sound from each speaker, calculate adjustments based on room acoustics, and create a balanced audio profile for your home theater setup.
If you prefer manual calibration or your receiver doesn't have auto-calibration:
- Measure the distance from the front of each speaker to where your head would reside when in the central listening spot, then note down the measurement.
- Once all the measurements are made, add them to the receiver. Speaker by speaker the receiver will prompt you to input a distance measurement in increments of feet, half-feet or sometimes down to 1/12 of a foot.
- Turn on the receiver's test tones, measure the levels using an SPL meter, and make adjustments up or down on each speaker until they are the same. The simplest way to do this if you don't have a professional mic is to download an SPL Meter app to your phone. Then, run the test tones and set all of your speakers to 75dB.
Three main settings in receivers comprise calibration: speaker size, speaker distance and speaker level.
Getting Your On-Screen Display Working
Before you start calibrating, make sure you can see your receiver's settings on your TV.
Calibrate your speakers by first connecting your receiver's on-screen display to your TV via HDMI cable. Most modern-day receivers will put out the on-screen display via HDMI, but some earlier models of the receivers that date back to five years need a conventional video connection.
Final Tweaks and Testing
Don't stress too much if your room layout prevents ideal speaker placement. Your receiver can make adjustments to create the proper stereo image. Focus on getting as close as you can to the guidelines above.
Test your setup by watching a favorite movie or show with surround sound content. You should hear dialogue clearly from the center speaker, ambient sounds flowing smoothly across all speakers, and bass that feels powerful but not boomy. Fine-tune levels by ear if needed—your ears are the final judge of what sounds right in your space.
Setting up surround sound takes time and patience, but the result is a dramatically more immersive viewing experience that transforms how you watch movies, sports, and games at home.