
Smart Air Quality Monitor Setup: Complete Installation Guide
Understanding Your Monitor's Capabilities
Before you plug anything in, know what your monitor measures. Indoor air quality monitoring devices can detect a variety of pollutants, and typically they also measure temperature and humidity. Key factors tracked by monitors include particulate matter (PM 2.5), volatile organic compounds (VOCs), carbon monoxide (CO), humidity, and temperature.
Some advanced models measure CO2 levels as well, which can indicate ventilation problems. Carbon dioxide is useful to track in your home, as high levels can cause mild symptoms like headache and fatigue.
Choosing the Right Location
Placement makes or breaks your setup. It is ideal to place indoor sensors near the typical breathing zone height (3–6 ft). This height captures the air you actually breathe while sitting or standing.
Avoid problem locations. Your IAQ sensors should be placed at least 1 m (3.3 ft) away from the following objects: interior and exterior doors, windows, humidifiers, cleaning supplies, printers, and photocopiers. Sensors should be placed away from air pollution sources, like a toaster, and air pollution sinks, like air cleaners, to get a more representative measure of indoor air quality.
Avoid placing your device near air vents, such as an A/C or heater vent. These create artificial temperature and humidity fluctuations that skew readings. Sensors should have free air flow and not be placed behind furniture or tucked away in corners.
For optimal sensor readings, keep your device away from direct sunlight and in open space that's less than 500 square feet. Place your device in an area with good airflow and don't obstruct the air intake vent.
Initial Setup and Power Connection
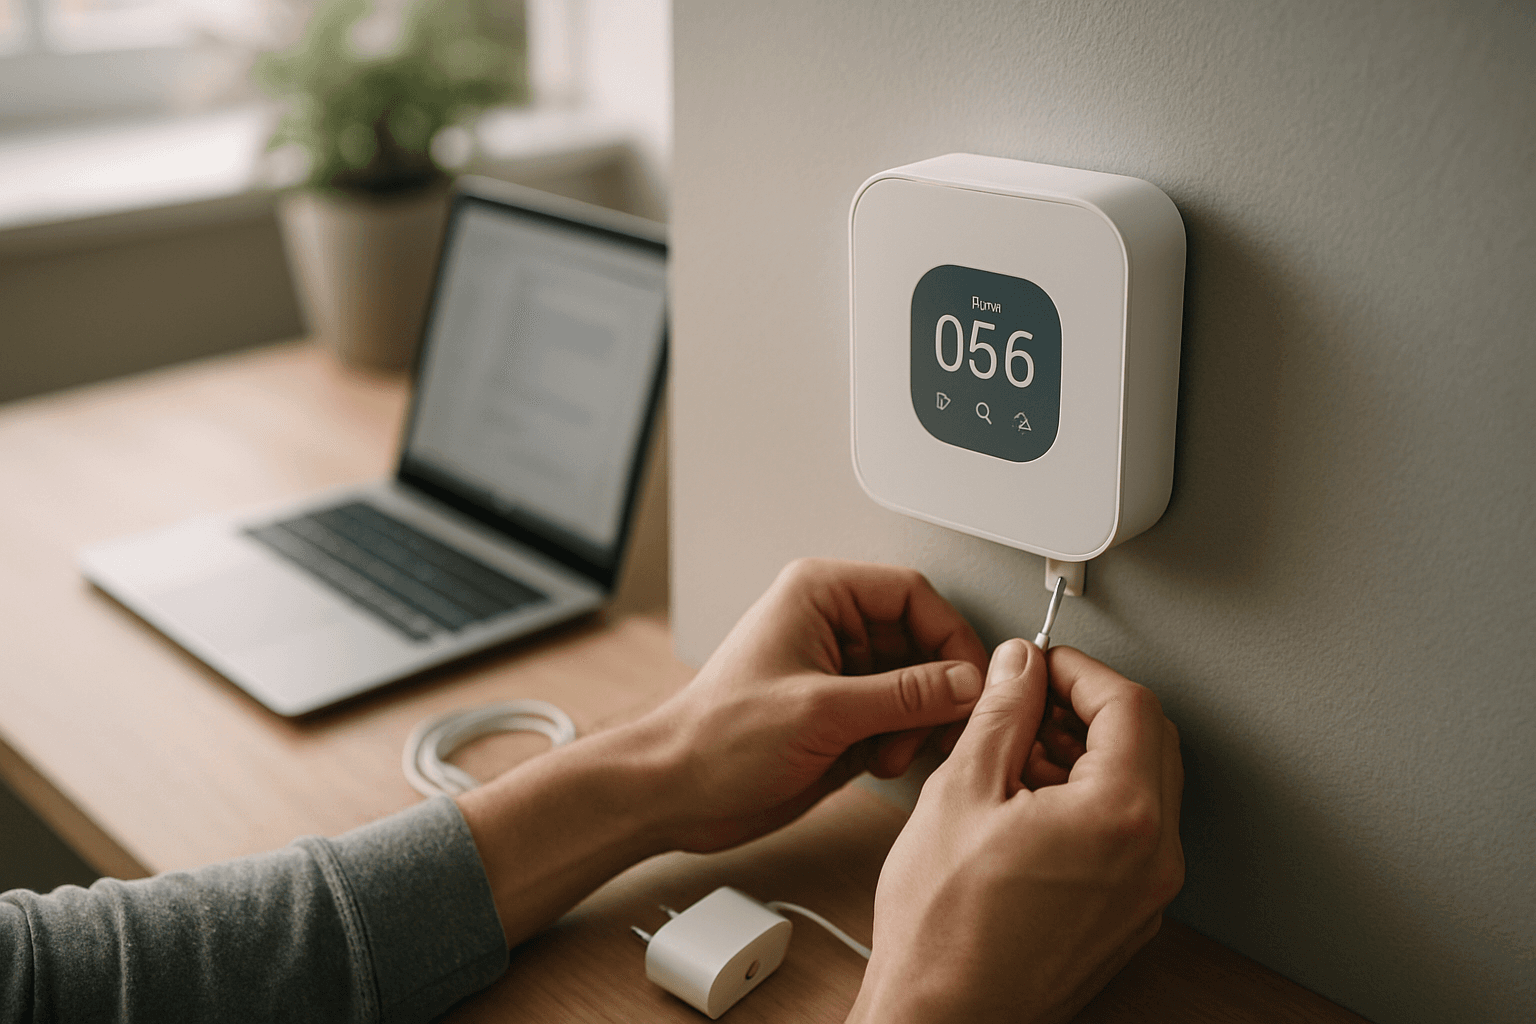
Start with the basics. Plug your device into the wall and a blue light blinks on the device. Some models require power adapters rather than wall outlets, so check your device's requirements.
For Amazon's Smart Air Quality Monitor, press and hold the multifunction button for 5–10 seconds until there's an alternating blue and purple-blinking light. Before setup, download the latest version of the Alexa App.
If your monitor is WiFi-enabled, note that many devices require connection to 2.4G WiFi instead of 5G WiFi. Check your router settings to confirm you have a 2.4GHz network available.
Connecting to WiFi and Your App
On your mobile device, open the Alexa app, open More and select Add a Device, then select your air quality monitor. Follow the prompts to enter your WiFi credentials.
Air quality monitors do not always need WiFi to measure the air—a model with a local screen or storage may keep useful functions offline, while WiFi handles remote viewing, cloud history, phone alerts or sharing. If your monitor has a built-in display, it can still show real-time readings without WiFi, but cloud features require connectivity.
If you need to change your WiFi network later, you'd need to actually remove the device from the Alexa App and then re-add it with the new WiFi connection.
The Critical Calibration Period
Don't trust your readings immediately. The device will go through a 2-day calibration period to adjust the surrounding environment, and during this time, sensor readings may be inaccurate. Many manufacturers include an initial adjustment phase where sensors stabilize.
This usually entails leaving the monitor in a clean or neutral-air environment for a predetermined time, where the monitor will make any necessary modifications by comparing its internal sensors with the air quality in this controlled environment. During calibration, do not move the monitor or contribute to air pollution.
For ongoing accuracy, most manufacturers, governing bodies, and legal regulations endorse annual calibration as the