
Smart Irrigation System Setup Guide: Step-by-Step Installation
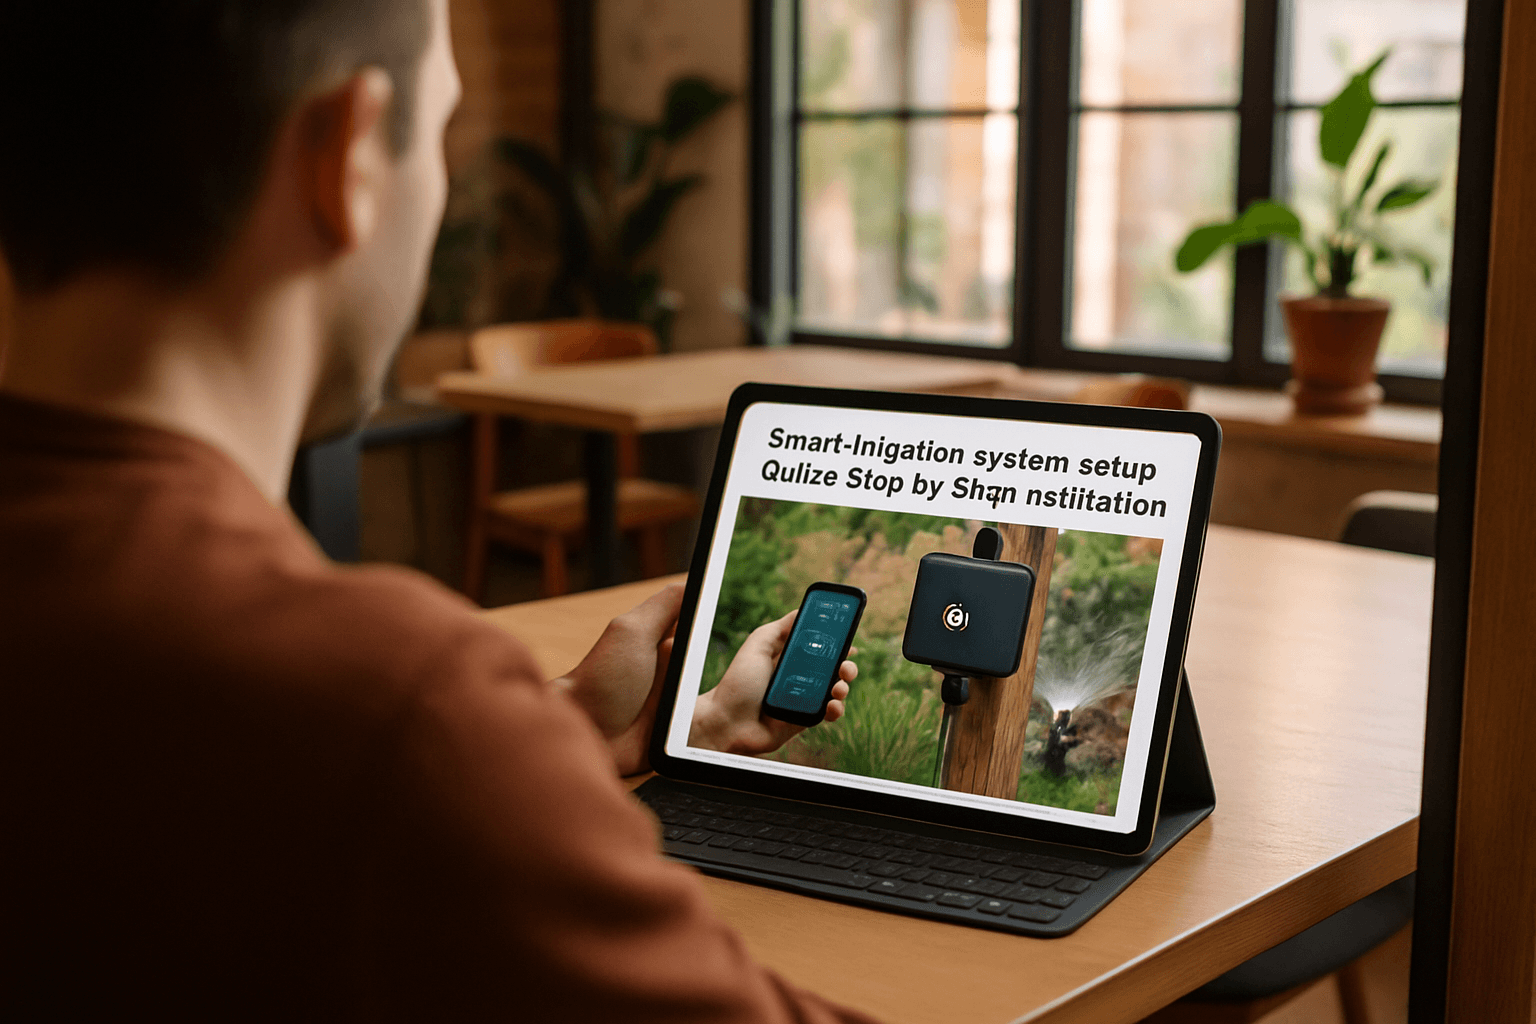
How to Set Up Smart Irrigation and Outdoor Watering Systems
Setting up a smart irrigation system transforms outdoor watering from a manual chore into an intelligent, efficient process. By automating scheduling, integrating weather data, and using soil sensors, these systems deliver the right amount of water at the right time. The result is a healthier landscape, lower water bills, and the convenience of managing your entire system from your phone—whether you're at home or away.
Understanding Smart Irrigation Systems
Before you start, understand what makes these systems "smart." Instead of relying on fixed timers or manual controls, these systems use weather data, soil sensors, and real-time analytics to adjust your watering schedule automatically.
Smart irrigation controllers are irrigation control devices that automatically adjust watering schedules based on real-time environmental conditions. Unlike traditional sprinkler timers that operate on a fixed schedule, smart controllers monitor weather, soil moisture, and evaporation rates to determine the precise water requirements of the landscape.
The water savings are substantial. Studies indicate smart controllers can save between 20% and 50% of landscape water compared to traditional timers, primarily by eliminating watering during rainy or cool periods.
Core Components of a Smart System
A typical smart irrigation setup includes several key parts:
- Smart Controller: The brain of the system, which adjusts watering times based on weather forecasts and soil conditions.
- Moisture & Rain Sensors: Measure soil hydration and detect rainfall to prevent unnecessary watering.
- Wi-Fi or App Connectivity: Lets you monitor and manage your system from your phone or tablet, whether you're at home or away.
Step 1: Plan Your Installation
Before digging or installing anything, develop a detailed plan. You should already have a design that maps out your irrigation zones, the location of sensors, and the path of your water lines.
Walk through the installation area. Clear away any debris, rocks, or weeds that could interfere with laying pipes or placing sensors. Use flags or spray paint to mark the locations for your controller, sensors, and the routes for your drip lines or sprinkler pipes. This simple step saves a lot of headaches later by giving you a clear visual guide to follow.
Step 2: Select the Right Controller
The controller schedules watering times and durations for each zone. Controllers can range from basic models to advanced "smart" systems that adjust watering based on weather conditions and soil moisture levels.
Popular options include systems designed for various yard sizes. Systems like the Orbit B-Hyve Smart Indoor Controller are ideal for smaller spaces with fewer zones. Options like the Rachio 3 and Orbit B-Hyve XR support up to 16 zones, making them suitable for larger lawns.
Choose a location that's easily accessible and protected from the elements if it's an indoor model.
Step 3: Install Trenches and Lay Pipes
Dig trenches, lay pipes, install sprinkler heads, and connect the controller. Flush the system, check for leaks, and adjust spray patterns.
The process involves laying PVC pipe in shallow trenches, usually 6 to 12 inches deep. You'll connect the pipes and install the sprinkler heads at the planned locations, making sure they are flush with the ground.
Step 4: Install Sensors Strategically
Sensor placement is critical for accurate operation. Soil moisture sensors should be placed within the root zone of your plants, typically about 6-8 inches deep for lawns and gardens.
Sensors should go in a representative turf area, away from sprinkler heads, tree roots, sidewalks, and walls. A sensor buried next to a walkway will read drier than one placed in open lawn, and that mismatch will skew every watering decision the controller makes.
Step 5: Download and Configure the App
Most smart irrigation controllers are configured through a smartphone app. Once you download the app and connect it to your controller, you'll be guided through the setup process. This is where you'll define your zones, telling the controller what kind of plants are in each area (e.g., lawn, shrubs, vegetable garden), the soil type, and the amount of sun exposure. This information, combined with data from your sensors and local weather forecasts, allows the system to create an efficient, automated watering schedule.
Step 6: Set Up Zones with Detailed Information
Download the app (Hunter uses the Hydrawise app, Rain Bird uses the Rain Bird app, and B-Hyve has the Orbit B-Hyve app—all are free on iOS and Android). Create an account and add your controller. Most controllers pair via Bluetooth initially, then connect to your home Wi-Fi network.
Set your location. The app uses your GPS coordinates to pull local weather data. This is critical for weather-based adjustments to work properly.
Enter the sprinkler type (spray, rotor, drip), soil type, slope, sun exposure, and plant type. The controller uses this information to calculate optimal run times.
Each zone should be set up for plants with similar water needs for irrigation efficiency, and one type of sprinkler head should be used throughout that zone. The sprinklers in each zone will run for the same amount of time, but other zones can have different run times.
Step 7: Test Your System
Before you let the system run on its own, you need to test it. Use the app or the controller itself to manually turn on each zone, one at a time. Walk through your yard to verify that water reaches all intended areas and that coverage patterns are correct.
Step 8: Enable Weather Intelligence Features
Turn on rain skip, freeze skip, and seasonal adjustment features. These features ensure your system doesn't water during rain or freezing temperatures, maximizing water savings.
WiFi Connectivity and Troubleshooting
Smart controllers depend on reliable WiFi. Smart controllers depend on a stable Wi-Fi signal, typically on the 2.4GHz band.
If you experience connectivity issues, many connectivity problems stem from power interruptions or local network changes. Ensure the controller is receiving power and LEDs are lit.
Most models including Rachio, Orbit B-hyve, and Rain Bird require 2.4GHz. Dual-band or mesh routers may default to 5GHz, which won't work.
A weak Wi-Fi signal is the leading culprit. Check signal strength at the controller's location using a smartphone. If you see fewer than two bars, you may need to move your router closer, add a Wi-Fi extender, or consider a mesh system.
Ongoing Maintenance
Perform a visual inspection once a month during the watering season. Walk each zone while it's running and look for tilted heads, clogged nozzles, or new obstructions. Check the app weekly for flow alerts or skipped cycles.
Most smart controllers have a winterization mode that shuts off all scheduling but keeps the unit powered for firmware updates. In spring, run each zone manually to check for freeze damage before enabling the full schedule.
Financial Benefits
The investment pays off quickly. Homeowners who switch from a manual timer to a smart controller typically see water bill reductions of 20-50%. The EPA's WaterSense program certifies controllers that meet strict efficiency standards, and some local water utilities offer rebates of $50-$100 for installing a WaterSense-certified controller. Check your utility's website before purchasing to see if you qualify.
Final Thoughts
Smart irrigation systems eliminate the guesswork from outdoor watering. By automating scheduling, integrating weather data, and using soil sensors, these systems deliver the right amount of water at the right time. The result is a healthier landscape, lower water bills, and the convenience of managing your entire system from your phone—whether you're at home or away.