
Smart Thermostat with Smart Vents Setup Guide
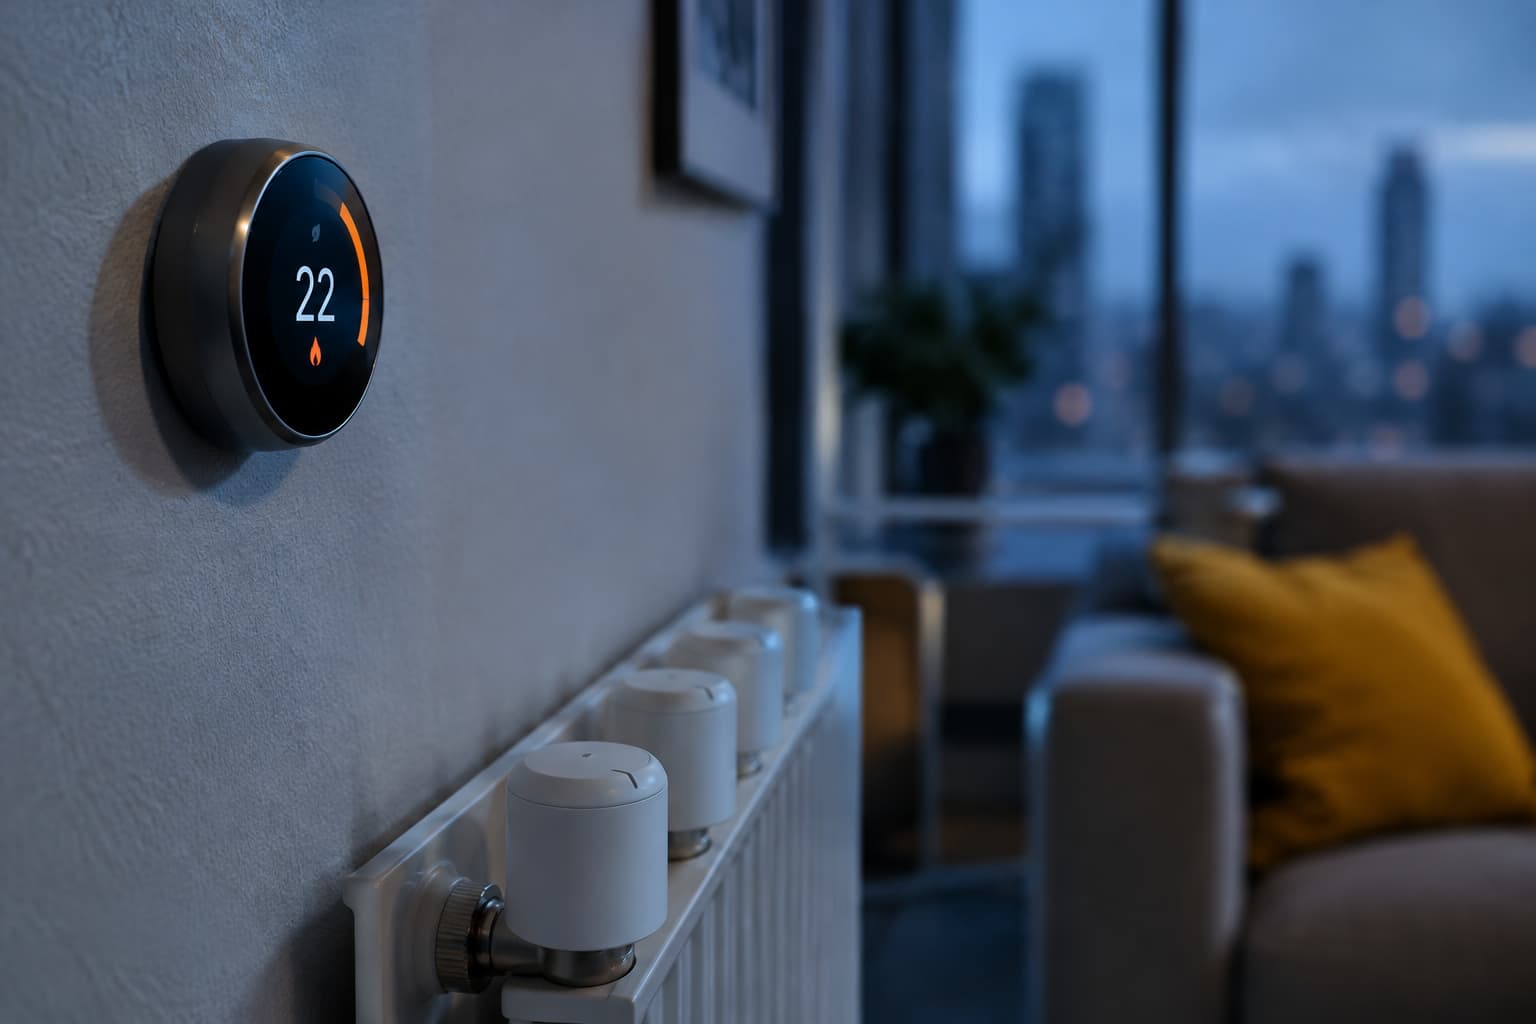
Understanding Smart Vents and Smart Thermostats
In a smart vent system, the thermostat controls the on/off of the central HVAC system and the smart vents direct where it goes. These two technologies work together rather than competing. Smart vents control and regulate your room temperature precisely by controlling the airflow coming through your HVAC ducts.
Smart vents are equipped with temperature, humidity, and even occupancy sensors that collect data about the conditions in each room. Meanwhile, the best smart thermostat brands in 2025 include Nest, Ecobee, Honeywell, Emerson, and Amazon, with Nest leading with its learning capabilities and sleek design.
The combination creates something more powerful than either system alone. Smart vents work by automatically adjusting airflow based on temperature settings, occupancy patterns, and other data, ensuring energy is only directed where it's needed most.
Choosing Compatible Equipment
Before purchasing, verify that your smart thermostat and smart vents work together. Flair Smart Vents work with ecobee, Honeywell and Google Nest smart thermostats, plus ecobee and Honeywell room sensors. Flair is an official integration partner of Amana, Bryant, Carrier, Daikin, ecobee, Goodman, Honeywell Home, Nest, and Sensi.
Flair smart vents work especially well with the ecobee thermostat and ecobee's smart sensors. For Google ecosystem users, Flair is compatible with all Google Nest thermostat models.
Common standard dimensions are 4x10, 4x12, and 6x10 inches. Smart vents cost $70–$250 each plus a $60–$150 hub.
Understanding How the System Works Together
Flair coordinates Smart Vents and room sensors across your home to actively balance airflow and maintain the right temperature in every room. The integration is automatic in many cases. When your Smart Vents are set to Auto Mode while connected to a smart thermostat, they will automatically detect whether your home is being heated or cooled and will use the thermostat's temperature setting as a base for temperature offset calculations.
Setting Up Your Smart Thermostat
Start with WiFi connectivity, which is essential for both devices. Smart thermostats need reliable Wi-Fi connectivity, and before installation, you should check the Wi-Fi signal strength where the thermostat will be mounted. Nearly all smart thermostats connect only on the 2.4GHz band — not 5GHz, and if your router uses a single SSID for both bands, temporarily disabling the 5GHz radio during setup can resolve connection failures.
Many thermostats also require a hub or bridge device that must be connected to your router via ethernet cable, so ensure your router location allows for this.
After confirming WiFi, access your thermostat's network settings menu and select your home WiFi network. Successful installation requires turning off HVAC power, labeling wires, securely connecting terminals, and configuring the device via app and Wi-Fi.
Download the manufacturer's app and follow the guided setup. After linking accounts, your smart home platform needs to discover your thermostat, and common solutions include ensuring all devices are on the same Wi-Fi network, restarting your thermostat hub or bridge, and manually triggering device discovery in your smart home app.
Installing Smart Vents
The physical installation is straightforward for most homeowners. Installing a smart vent is a low‐risk DIY task as long as you stick to register replacement.
Begin by measuring your existing vent openings. Measure the duct opening, not the faceplate. Remove old vent covers using a screwdriver if necessary and clean any debris or dust around the opening for better performance post-installation.
For power, you have two options depending on your model. Follow the vent's manual to install AA or lithium batteries, then slide the unit into the duct opening. Alternatively, pull enough wire through to reach the back of the Smart Vent and insert the conductor into the 24 VAC port on the back side of the Smart Vent.
Place the new smart vent into position and secure it using screws provided by the manufacturer. Insert your smart vent into the opening and secure it with the provided screws.
Connecting and Configuring the System
Once installed, connect your vents to the manufacturer's app. Most smart vents need a Wi‑Fi bridge that plugs in near your router. Download the manufacturer's app and follow the step-by-step troubleshooting guide to pair your vent with your home network.
During setup, you'll need to assign zones to each vent and establish temperature preferences. In the companion app, label vents by room (