
Home Assistant Raspberry Pi: Complete Setup Guide 2026
Why Choose Raspberry Pi for Home Assistant?
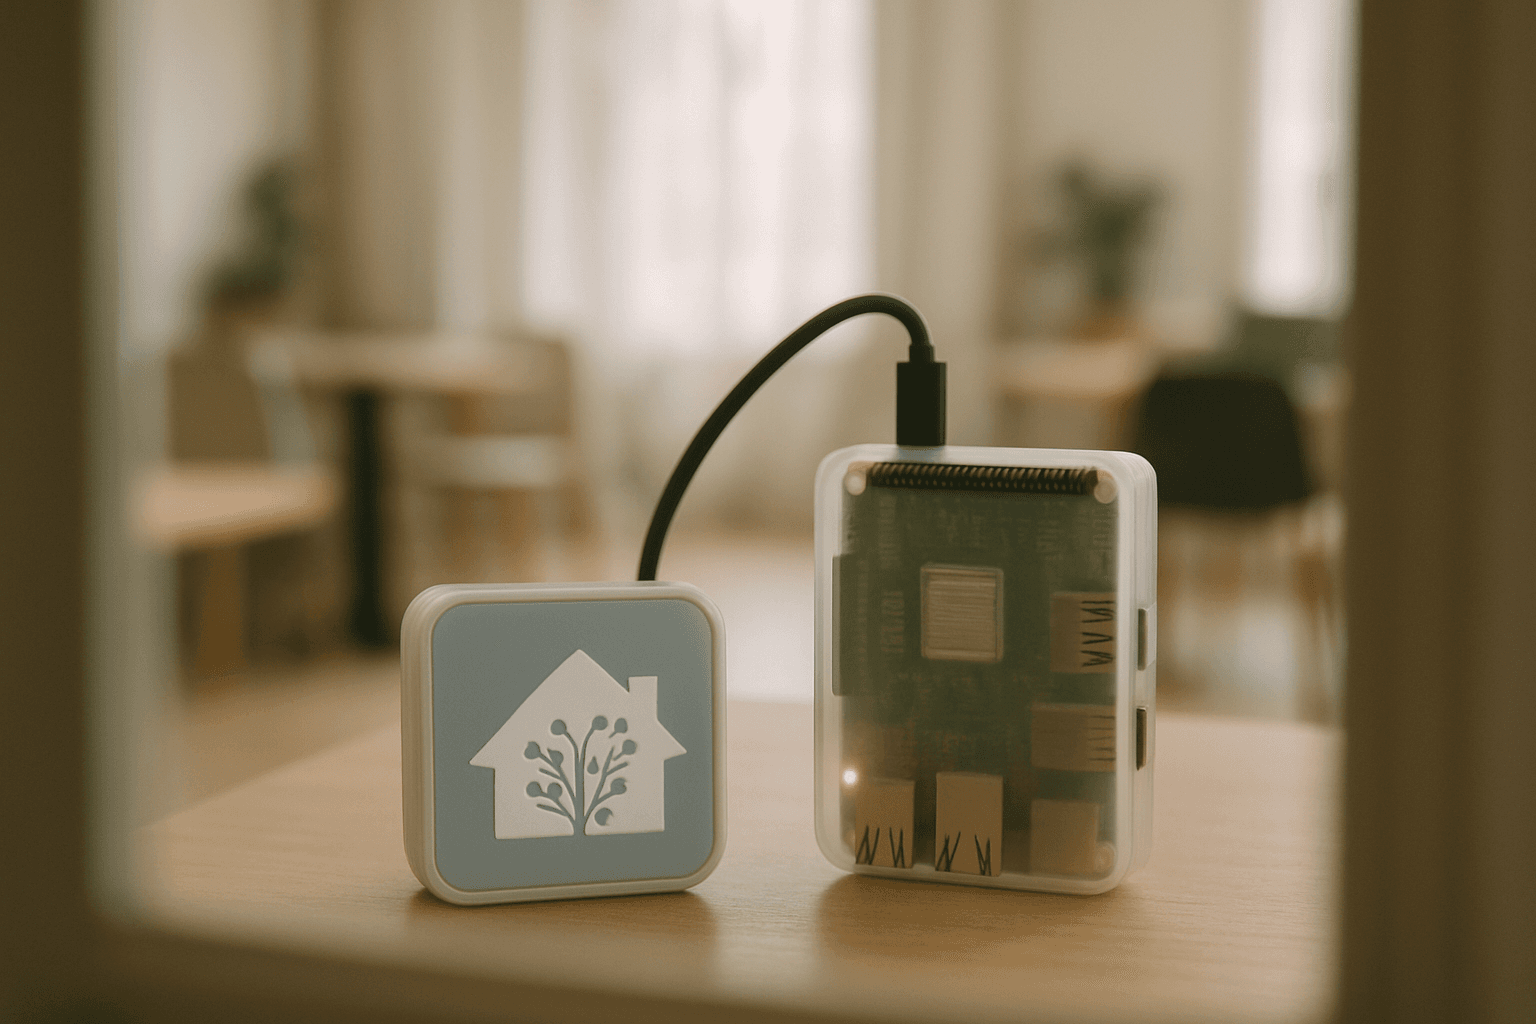
The Raspberry Pi is the poster child for affordable computing and is a popular choice for Home Assistant beginners. For thousands of DIY enthusiasts, installing Home Assistant on Raspberry Pi hardware remains the gold standard for balancing cost, power efficiency, and community support.
Over 3,000 integrations for Philips Hue, Homematic IP, Fritz!Box, Shelly, IKEA TRÅDFRI and many more are included. This vast ecosystem means you can connect almost any smart home device you already own or plan to purchase.
Hardware Requirements
Which Raspberry Pi Model?
Raspberry Pi 5 or Raspberry Pi 4 with power supply (make sure to choose a model with at least 2 GB of RAM). However, not all RAM configurations are equally suitable.
For most, 4GB RAM is enough. 4GB is the safer recommendation for most households. Raspberry Pi 5 is the better choice for a new Home Assistant installation on Raspberry Pi, heavier add-on use, larger databases, SSD or NVMe storage plans, and users who want more performance headroom over the next few years.
Storage: SD Card vs. SSD
This is critical. SD cards typically last only 6–18 months under this load; an SSD lasts much longer. If you are planning a long-term setup, an SSD is strongly recommended due to better performance and reliability compared to microSD cards.
For the Raspberry Pi 4, Pi 4 is best paired with USB 3.0 SSD storage when you want better write endurance than microSD. For the Pi 5, the Pi 5 supports NVMe SSDs directly through the PCIe interface when you use a compatible HAT+, which gives you even faster speeds than USB SATA drives.
If you must use an SD card for the initial setup, make sure to use a card that provides at least 32 GB.
Power Supply
The Pi 4 requires the official 5.1V / 3.0A power supply. The Pi 5 requires the official 27W USB-C PD power supply. Never use third-party USB-C phone chargers. Underpowered devices cause data corruption and random failures—the cost of the official power supply is cheap insurance.
Additional Items
Ethernet cable. Required for installation. After installation, Home Assistant can work with Wi-Fi, but an Ethernet connection is more reliable and highly recommended.
Installation Methods: Home Assistant OS vs. Container vs. Core
Home Assistant Operating System is the recommended installation type for most users. Home Assistant OS is an embedded, minimalistic, operating system designed to run the Home Assistant ecosystem on single board computers (like the Raspberry Pi) or Virtual Machines. It includes Home Assistant Core, the Home Assistant Supervisor, and supports apps.
You get the complete ecosystem – including add-ons like Zigbee2MQTT, Mosquitto, NGINX, automatic backups, and one-click updates directly from the UI.
Note: As of the June 2025 release of Home Assistant, the 'Supervised' installation method has been deprecated, and will be unsupported by the end of 2025.
Step-by-Step Installation
1. Download Raspberry Pi Imager
Download and install the Raspberry Pi Imager on your computer as described at https://www.raspberrypi.com/software/. This is the easiest way to flash Home Assistant OS to your storage device.
2. Select Home Assistant OS
Select Choose OS > Other specific purpose OS > Home assistants and home automation > Home Assistant. The imager will detect your Raspberry Pi model and offer the correct Home Assistant OS image for your hardware.
3. Write to Storage
You'll need to choose the Home Assistant OS, which will be written to your SD card. Insert your storage device (microSD card, USB SSD, or NVMe) into your computer and select it in Imager. The write process will erase all existing data, so back up anything important first.
4. Boot and Connect
Insert the SD card into your Raspberry Pi. Connect an Ethernet cable from your Raspberry Pi to your router or switch. This should be the same network as your computer. Then, plug in the power supply to power on the device.
5. Access Home Assistant
After you start Home Assistant OS for the first time you can connect to it using the local URL: http://homeassistant.local:8123/. If that URL doesn't work, find the IP address of your Raspberry Pi through your router and navigate to http://[IP-ADDRESS]:8123.
Essential Add-ons and Integrations
Once Home Assistant is running, you'll want to add integrations for your smart devices. Two popular options for managing Zigbee devices illustrate the ecosystem:
Zigbee Integration Options
ZHA (Zigbee Home Automation): a built-in integration. No additional software to install beyond Home Assistant itself. Smaller device support list, simpler setup.
Zigbee2MQTT (Z2M): a separate program (typically run as a Home Assistant add-on) that bridges Zigbee to MQTT, which Home Assistant subscribes to. Larger device support list, more features per device, more setup work.
For most users with mixed-brand Zigbee devices, Zigbee2MQTT is the better long-term choice. Setting up Zigbee2MQTT requires first installing the Mosquitto MQTT broker, then configuring the add-on with your Zigbee coordinator hardware.
MQTT and Mosquitto
If you don't have an MQTT broker yet; in Home Assistant go to Settings → Add-ons → Add-on store and install the Mosquitto broker add-on, then start it. The Mosquitto add-on simplifies MQTT setup compared to running it separately.
Storage Optimization: When to Migrate to SSD
If you start with microSD, you'll eventually need to migrate to faster storage as your database grows.
MicroSD cards wear rapidly under this workload and produce noticeably slower dashboard performance compared to NVMe. If you are on an SSD, ensure the USB-to-SATA/NVMe bridge supports UASP (USB Attached SCSI Protocol). Without UASP, the translation layer causes massive I/O latency.
For the Pi 5 with NVMe, NVMe storage via a PCIe HAT provides substantially better I/O performance than microSD or USB SSD. The official Raspberry Pi M.2 HAT+ is the most widely tested option and handles power delivery correctly.
Alternatives: Home Assistant Green and Yellow
If you want a ready-made device instead of assembling your own, for those new to the platform, the Home Assistant Green is the recommended starting point. It costs around $99 and comes with everything you need to get started.
Since 2025, the Yellow is no longer produced and is no longer available as new. If you own a Yellow, you can safely continue to operate it – for new buyers, Nabu Casa recommends the Green as its successor.
Common Pitfalls to Avoid
Most Home Assistant problems come from weak power supplies, worn microSD cards, hot enclosures, unstable Wi-Fi, missing backups, or USB coordinator placement.
Use the official power supply, prioritize a wired Ethernet connection during setup, and plan to upgrade to SSD storage early. Regular backups are also essential—Home Assistant OS includes built-in snapshot tools, so use them.
Getting Started with Automation
Once your hardware is stable, the real power of Home Assistant emerges. Home Assistant acts as the central brain of your automated home. Once your devices live inside one platform, you can stop thinking in terms of gadgets and start thinking in terms of scenes, routines, and intelligence.
Start by connecting a few devices, creating simple automations (lights on at sunset, for example), and gradually expand your setup. The local nature of Home Assistant means automations execute instantly without cloud latency, making your smart home feel responsive and reliable.